


- Microcurrent facials help to tighten and tone the skin, but proper preparation is key.
- Dehydrated skin and unexfoliated skin can prevent the desired microcurrent results.
- Failure to follow facial vectors can inhibit the lifting effect of microcurrent treatment.
- Microcurrent devices require a water-based conductive gel to see and feel results.
Microcurrent facials can offer facelift-like results — minus the invasive surgery! A microcurrent device can help stimulate collagen production for plumper-looking skin and strengthen facial muscles for a more contoured appearance, all without needles, lasers, or a lengthy recovery period. You can even use the same microcurrent device along your neck to tighten and tone sagging skin.
However, if you’re reading today’s post, you’re probably wondering how I could rave about microcurrent benefits, especially when you’re not achieving similar results at home. Luckily, you’ve come to the right place for help! I'm a licensed master esthetician, and here’s my guide to at-home microcurrent facials, including troubleshooting tips and top product recommendations for the best results.
Common Issues and How To Fix Them

Before we dive into common microcurrent side effects, let's get clear on how a microcurrent facial works. An at-home microcurrent device emits a low-voltage current that’s similar to the bioelectric current already running through your body. When applied to your skin, it stimulates adenosine triphosphate (ATP) activity below the surgace, strengthening muscles and stimulating collagen production.
Though the current that runs through microcurrent devices is harmless, it can be problematic if the skin isn’t prepared correctly or the device is used improperly. After more than two decades of exploring the ins and outs of microcurrent facials — and treating patients who weren’t that impressed with at-home devices! — I’ve put together a master list of common microcurrent issues.
Your Skin Looks Worse After a Microcurrent Facial
First, if your skin looks worse after a microcurrent facial (think crepey or wrinkled-looking), a lack of preparation is likely to blame. Good hydration is a critical contributor to skin quality. Dehydrated skin, which occurs when the skin lacks water, will often look more uneven and dull post-microcurrent. Your skin may feel itchy and develop shadows under the eyes and around the nose after treatment.
Expert Solution: Drink plenty of water on the day prior to and the day you plan to use microcurrent to infuse that hydration into the skin. You might also want to take a closer look at your diet, being mindful of the nutritional value of your meals and where you’re receiving hydration.
Second, you might have forgotten to remove any debris — like dirt, oil, and dead skin — from your face. By not fully cleansing the skin, you prevent total absorption of any serums applied on top. Alternatively, you might have used an oil-based serum before beginning your facial, which will prevent microcurrent conduction. Applying a water-based serum is key!

Expert Solution: Thoroughly cleanse the skin before beginning a microcurrent facial. I recommend the CBE Botanicals Enzyme Rescue Multi-Purpose Enzyme Mask to gently exfoliate dead skin cells and buff away any debris. Next, follow with a water-based serum or conductive gel, like the CBE Botanicals Hydrate + Conduct Conducting Gel & Mask, to properly prepare the skin for microcurrent.
You’re Not Experiencing the Desired Lifting Effect

You’ve probably heard all about the lifting effects of microcurrent, but may have failed to achieve the same results with your at-home microcurrent device. That’s likely because you’re not using your vectors properly! Vectors refer to lines traversing the anatomy of the face, according to how the skin drapes over fat padding and facial bones. If you’re crossing or swiping down along those vectors, you will not achieve the lifting effects you desire.
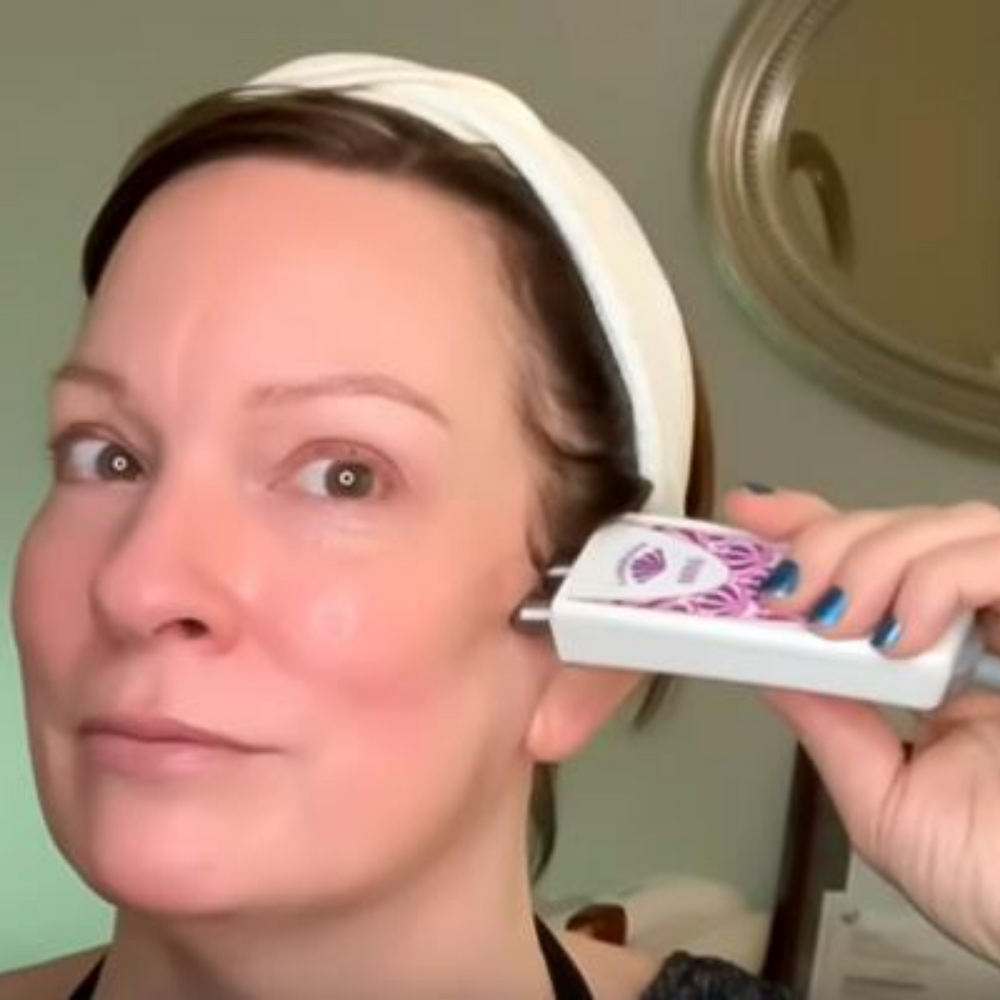
Expert Solution: Always work against facial sagging, gliding your microcurrent device upwards along the cheeks and sides of the mouth, and upwards and outwards above the eyebrows. Follow along at home while I demonstrate how to contour vectors with a microcurrent device in this video!
Your Microcurrent Device is Zapping Your Skin
There’s nothing quite like an unexpected zap to put a damper on an otherwise relaxing microcurrent facial. You might feel that zapping or snapping sensation when first placing the microcurrent device on your skin or when swiping it upwards along your face. Unfortunately, that feeling is common if you’re using a microcurrent device that’s set to high frequency, especially one over 500 microamps.
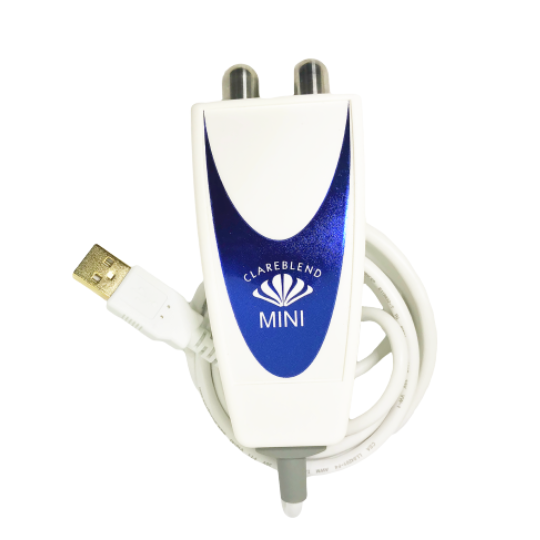
Expert Solution: The easiest way to avoid unpleasant zaps — while still achieving the desired microcurrent benefits — is to turn down the power on your device. I personally recommend a microcurrent device like the Clareblend Mini, which features a randomized frequency (more on this device below!). You can just plug and go without having to stop and reset or turn down frequencies.
You Don’t See (or Feel) Microcurrent Results
So, what if you’ve been properly prepping the skin, hydrating, and avoiding zaps, but still don’t see or feel microcurrent results? The answer may be the steps you take before your microcurrent facial! Even when using a conductive gel like the CBE Botanicals Hydrate + Conduct Conducting Gel & Mask, you may still want to layer gentle serums and lifting techniques, like a facial contouring massage (FCM), beforehand.

Expert Solution: I always recommend getting your circulation moving with a facial massage tool like the ANMA device, to release stuck fascia (facial muscles) and drain accumulated lymph. It’s like a mini-lift before your facial! I also choose to layer non-oil-based serums under my conducting gel to increase conduction and further nourish the skin, like the CBE Botanicals Triple C + Gold Serum.
Pro Tip: Find all of my best device tips for microcurrent in one video! Save it to your favorites (and subscribe to my channel!) so you can have esthetician-approved tips for every microcurrent facial.
Are You Using the Right Microcurrent Device?
At this point in today’s post, you should have a step-by-step checklist for how you can improve your at-home facials to reap all the microcurrent benefits. However, I couldn’t let you leave my blog without discussing the top microcurrent devices on the market today. After all, a lack of results or unpleasant microcurrent side effects could also boil down to a device that’s simply ineffective.
Here’s a quick guide to the devices I recommend for at-home microcurrent facials:

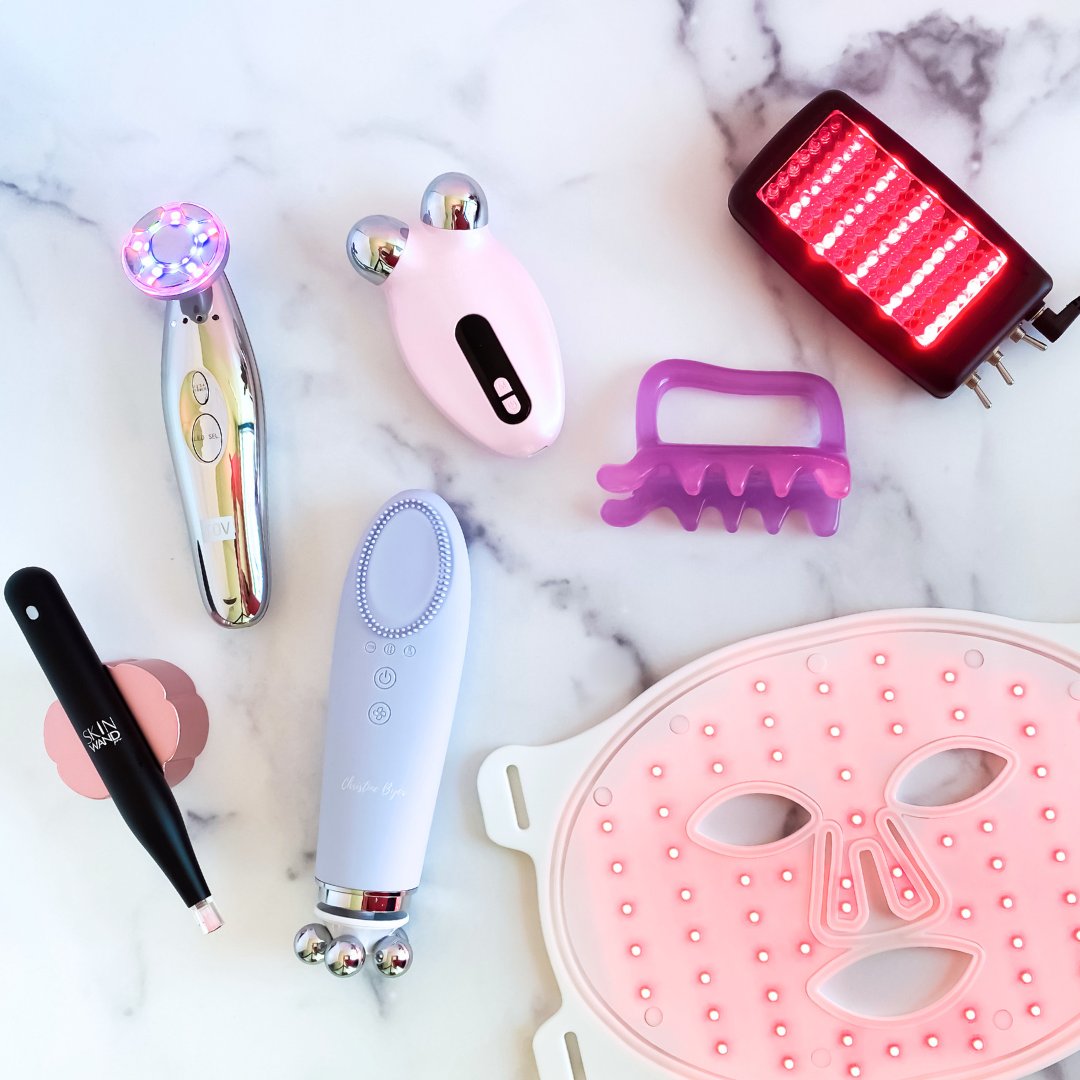
- FOREO BEAR 2 is my personal favorite microcurrent face device, as it features four frequencies, ten levels of intensity, and guided facials through the FOREO app. It also has five settings for biomechanical vibration, which help with lymph drainage and circulation.
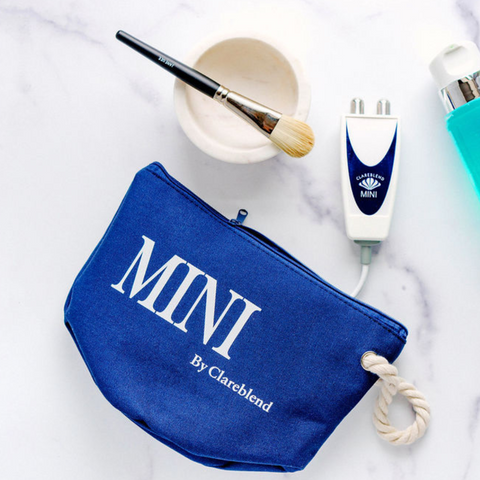
- Clareblend Mini is a great suggestion for skincare newbies and at-home gurus alike, as the hundreds of variable frequencies allow you to plug it in and go without worrying about unpleasant zaps. It’s user-friendly and lifts my clients’ eyes better than a $7,000 pro device!
-
MBK Glo is my suggestion for a two-in-one microcurrent device, as its dual-sided design features a soft silicone brush that uses positive ions and vibration to deeply cleanse the skin. Plus, it comes with a free conducting
gel and cleanser for a full facial package!

-
Eye & Lip Rejuvenator is my go-to for under the eye area. This device helps
to plump up that muscle and thicken skin in 3 minutes a day using microcurrent. This helps to minimize the appearance of undereye hollows.This device heats to body temperature so it is also pushing those eye serums deeper into the skin. In just 3 minutes a day, it provides a fabulous eye treatment- great for around the lips to soften those lip lines too.
Frequently Asked Questions
How often should I use a microcurrent device to see the best results?
For optimal results, consistency is key with microcurrent facials. For beginners, I recommend using your microcurrent device 3-5 times per week for the first 4-6 weeks. Once you start seeing noticeable improvements, you can reduce usage to 1-2 times per week for maintenance. Consistency will help you achieve and sustain those lifting and toning effects! Some microcurrent like the Eye and Lip Rejuvenator are safe to use daily. Always read the user manual before starting any new skincare routine.
Can I combine microcurrent facials with other skincare treatments or devices?
Absolutely! Microcurrent facials can be paired with other skincare treatments to enhance their effects. For instance, you can begin with a facial massage tool like the ANMA to boost circulation and release fascia before moving on to your microcurrent device. Just be sure to use the microcurrent treatment last to help keep those facial muscles firm. I also love combining microcurrent with the Time Master Pro or an LED treatment for even more powerful results!
Unlock More Microcurrent Benefits in the Club
There you have it — an expert’s guide to mastering microcurrent benefits. If you’re still feeling like you need additional support in your skincare journey, join me in the Christine Byer Beauty Club. I offer members personalized support for questions (like what microcurrent mistakes you might be making!), access to exclusive product and device savings, and even the opportunity to win a free consultation with me.
Sign up today for your 14-day free preview!