It's not uncommon for years of sunbathing, general neglect, and aging to leave its mark on our face. This can appear as deep wrinkles on the forehead, around the eyes, near the cheeks, and in the mouth area. It can feel like a hopeless case.
While I can't promise you the fountain of youth in a bottle of skincare or a magic wand with the latest device, I can share what I've seen and experienced for treating deep wrinkles in my studio over the past 20+ years.
The following Pro steps can help improve deep wrinkles and soften glycated skin. Glycated skin appears tough and rippled like that of skin on an orange peel. The kind of work you'll need to do is a combination of manual massage, multi-modalities using devices, and high-performance products.
The first thing to do is take a before picture (here's how to do that) so you can measure your progress. If you don't capture the progress in pictures, the subtle changes will be missed and you'll get discouraged. Your skin won't improve if you don't put in the work. Be prepared to put in some hard work to get results. Key words here are consistency, consistency, and consistency.
Your mission is to release stuck fascia and soften tough skin with enzymes and pro-grade products while using devices with the right kind of energy to plump the skin and stimulate the skin's own anti-aging and healing abilities. I'm recommending you follow these steps 3 times a week for deep wrinkle blasting benefits.
These steps begin after you have used a hydrating and pH-balanced cleanser.
You'll begin your deep wrinkle treatment plan, by learning how to do manual fascia release using clean fingers in the areas you're experiencing stuck fascia that is contributing to etching your skin with wrinkles.
Please go to my YouTube channel and search "massage". I have tons of videos showing how to release stuck fascia in all the areas of the face we experience it. Massage pressure I'm using is always very gentle. Using too much pressure will have adverse effects. The facial muscles are delicate so be very gentle.
The next step is skin sweeping to clear out lymph that creates pockets of puffiness. This can stimulate collagen and increase circulation in the skin with continued practice. This is performed using a gua sha tool with a feather light sweeping movement over the skin. My go-to gua sha tool is the Anma. Again, you'll find how-to videos on my YouTube channel.
Surface and deep exfoliation is the next step. I love using a microdermabrasion device for surface exfoliation. This device uses a 150 or 180 grit diamond encrusted tip to exfoliate dead skin cells and smooth out skin texture. Use this device on the areas with deep wrinkles. The entire treatment should take only 3 minutes.
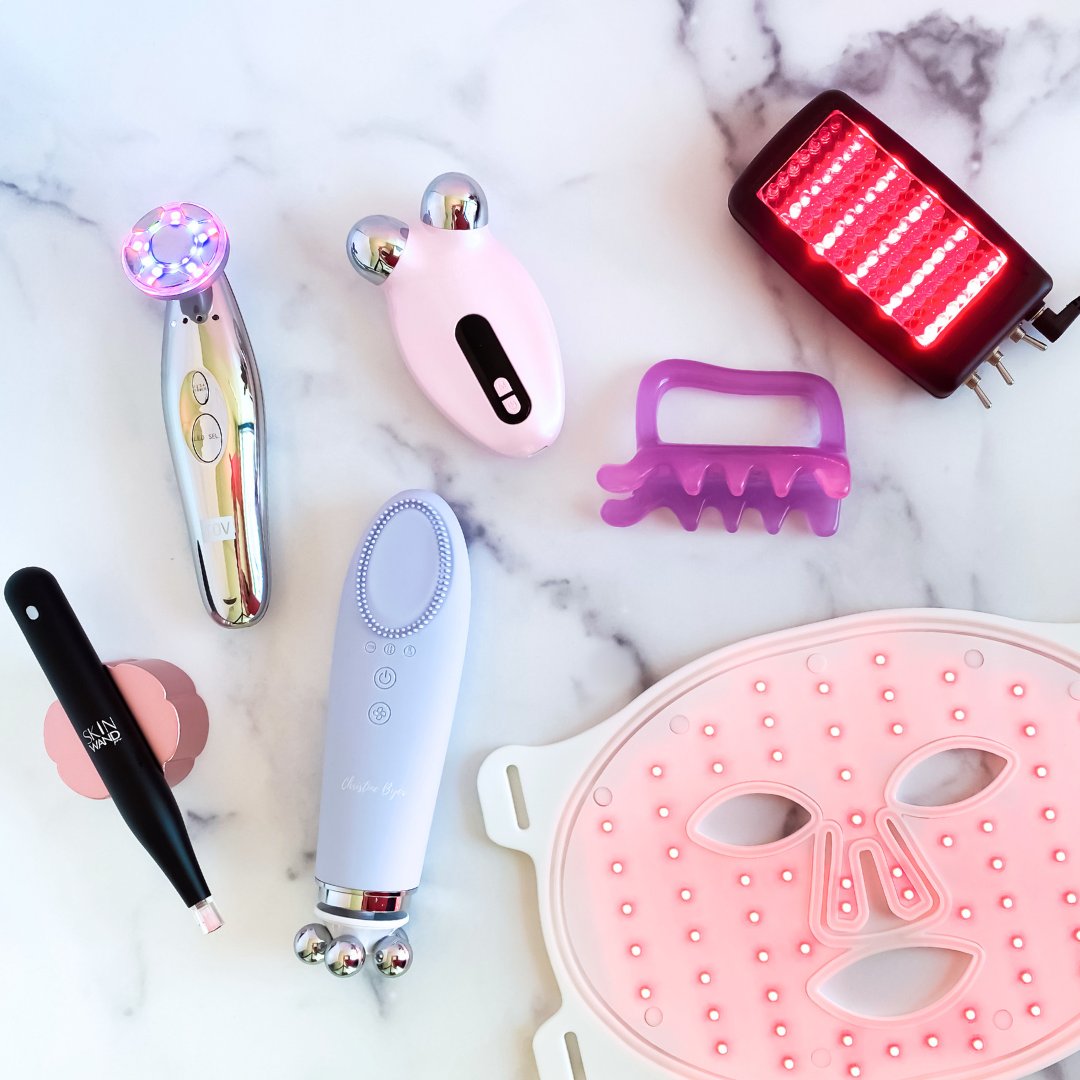
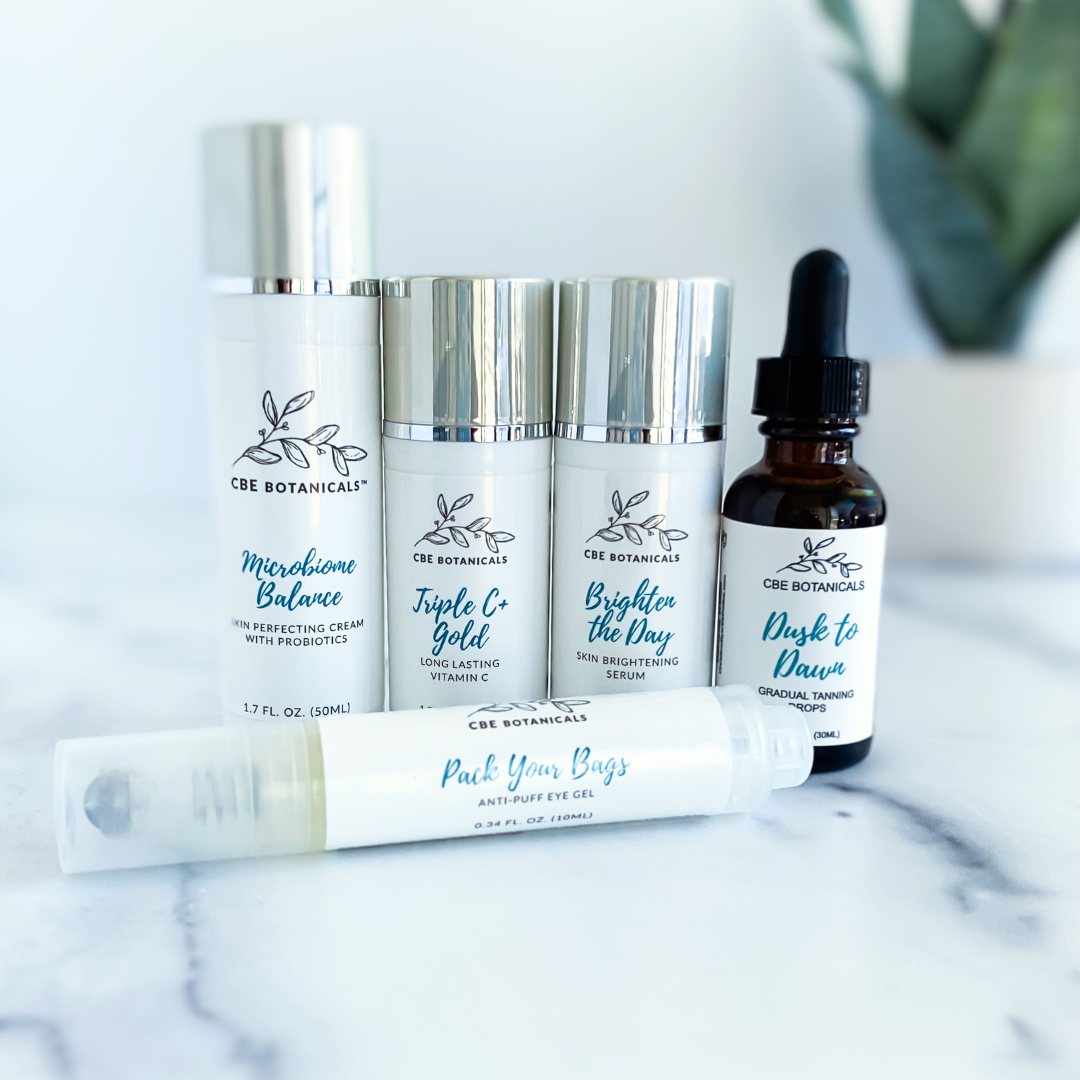
The next step is a special treatment you can perform at home. My clients in the studio love it. This requires using a high performance enzyme mask like CBE Botanicals Enzyme Rescue and a device to penetrate the ingredients deeper in the top layers of the skin. The reason you'll love Enzyme Rescue is it doesn't make the skin get red and irritated. It is super gentle, yet effective at eating up dead skin cells. I like the ultrasound in the Time Master Pro for this device. This can soften skin into a more supple texture while at the same time plumping up wrinkles.
Apply an enzyme mask letting it set up a couple of minutes. Lightly spritz water and use the Time Master Pro in gentle, circular moves to penetrate these ingredients. Keep skin moist the entire time and do this for 2 to 3 minutes. You can apply more product if needed.
Skin might feel a little stingy from the enzymes at work but it should not turn red. If you're using an enzyme that is too harsh or too drying, consider Enzyme Rescue for it's gentleness. When finished, remove any excess product by patting the face with a warm, wet facial cloth. Don't rub. Be gentle.
Now, you're ready to target the dark spots. Apply a skin whitening product(s)(my favorites are CBE Botanicals Brighten the Day and/or CBE Botanicals Triple C + Gold or Whitening A Serum) before this next step allowing each one to completely absorb.
Apply conducting gel (CBE Botanicals Conducting Gel and mask) and grab your microcurrent device or the Curve Face & Body. The reason this step works so well on deep wrinkles is it helps to further drain lymph and these devices can get the facial muscles back where they belong in a lifted state and in the process smooth out the wrinkles on the face. When finished, remove any excess product by patting the face with a warm, wet facial cloth. Don't rub. Be gentle.
Continue from here with your normal skincare routine, applying moisturizer and sunscreen (if doing this in the morning.)
Remember, to take a new picture each week to gauge your progress. After about 4 weeks of following these steps consistently, you'll see a softening and releasing of the deep wrinkles. Keep up the good work for continued improvement.
================
Want to get support with your skincare journey? Join us at the Christine Byer Beauty Club. We offer a 14-Day FREE Preview with full access to everything in the Club. Ask questions and have access to savings and the opportunity to win a FREE online consultation. If you don’t find value in your membership, cancel before the 14th day to try it for FREE.
